Mistake happen, it is what makes us human. If you find a error within our solution, feel free to let us know.
EDIT MODE
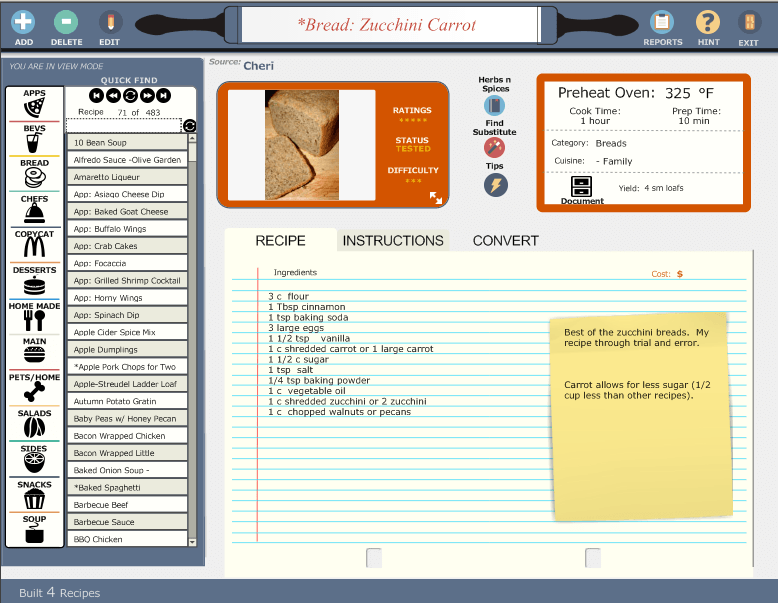
VIEW MODE
REPORT MODE
If you are unsure of how something works or have a question in general, feel free to contact us.
To use this help file, click on the plus sign to open or maximize and the minus sign to close or minimize.
The DATA MODE has two functions: to add a new record (recipe) and to edit a record (recipe). This is the section all the data entry, editing, and deleting is done.
The two action icons on the TOOLBAR provide two important functions: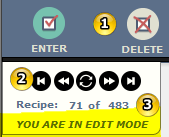
[1] To enter a new recipe, begin by entering the name of the recipe.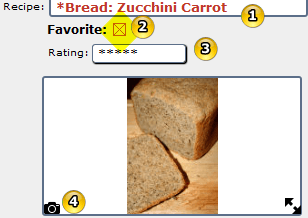 This is a required field.
To Edit: While in the DATA MODE, simply click on the name and highlight the name, then make your changes.
TIP: If you want to group your recipes, it is easy enough to group the same type recipes together using the name field. To group buns in the BREAD category, name your bun with the group name first followed by the name. Example: Bun Cross, Bun Buttermilk.
You may want to highlight your record.[2] Check the FAVORITE square and the name of the recipes will turn red.
To edit ‘un-check’ the square, just click on it and the recipes’s name returns to black.
[3] To rate the recipes using a star method, use the drop down selector.
To edit remove the rating, while in the DATA MODE, select the drop down indicator and choose the star rating you prefer. If none is desired, choose the ‘~’ selection.
Adding a picture is very simple. Click on the small camera icon [4], the browser will let you choose any picture on your computer. A suggestion is to make a folder to keep all the photos together. You may want to keep this with the program files or in a location familiar with you.
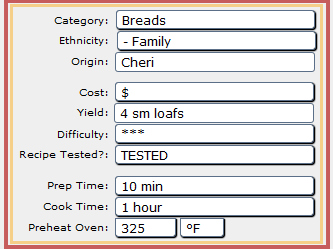
Add as much information as you want to each recipes. All fields except the recipe name are optional. The recipes cost is a 5-$ selector and the recipe difficulty is a 5-* selector. Simply choose your value.
To edit remove the ratings, choose the ‘~’ option. To edit any of the other fields, simply click and highlight the field and make any changes required.
Notes can be used for many different options. Tips, alternative uses, gift ideas. Simply type in your note. NOTE: the PASTE icon that is showing in this view is for INSTRUCTIONS not NOTES. Notes need to be typed in or copied (Ctrl-C) and pasted (Ctrl-V) on Windows keyboard.

The main recipes section has 3 sections: ingredients, instructions, and notes. Designed to allow for easy copy and paste from recipes found on the internet or email, it is also possible to type in the recipe.
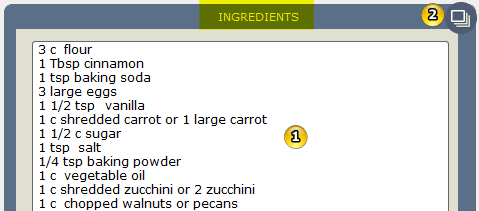
Copy (Ctrl-C) the ingredients and then press the PASTE ICON located in the upper right corner of the INGREDIENTS section.
This will remove any formatting from the original copy of the ingredients and your view will all have a uniformed look.
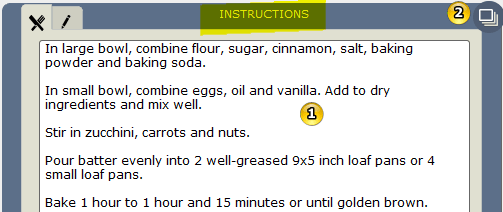
The instruction paste icon will paste into the INSTRUCTION section. Copy (Ctrl-C) the instructions and then press the PASTE ICON located in the upper right corner of the INSTRUCTIONS section. This will remove any formatting from the original recipes and your recipes will all have a uniformed look.
The instructions will paste into the instructions section.
To view a note, click on the NOTE tab. See Data Mode Recipes Notes (above) for more information.